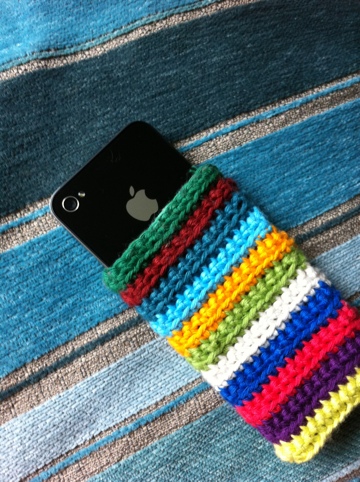
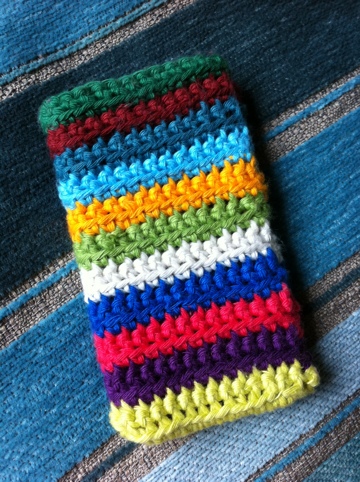
I wanted to make an iPhone cosy for a while now, and needed something really simple to get started on. Inspired by this gorgeous blog, I decided to do a stripy case, as I LOVE stripes. Especially multicoloured ones! The pattern in the blog was for her HTC phone, so I adjusted it to fit my iPhone & here is how I did it…
Materials & hook size
I used Rico Creative Cotton yarn from here & a 4mm hook.
Stitches
The stitches used are chain stitch, SC (US Single Crochet) & SS (slipstitch)
I chained 31 to fit around my iPhone. Depending on yarn/hook/tightness, you may need to adjust to fit. Leave at least 6″ tail for sewing/slip-stitch bottom of case at end.
Row 1. Insert hook into 2nd chain from hook, and SC into every stitch along the row. Turn.
Row 2. Ch1, SC into every stitch until the end. Fasten off leaving a small tail for sewing in sides of case at end.
**Row 3. Tie on new colour by knotting it with previous tail-end. Insert hook right underneath first stitch, draw yarn through, Ch1, SC into the first stitch of previous row. SC along rest of row. Turn.
Row 4. Ch1, SC into 2nd stitch from hook & continue to end. Fasten off as before, leaving enough yarn to SS the sides. **
repeat between ** ** until you reach desired size to fit iPhone.
Finishing off
With right sides together, lined up neatly, using the yarn tail, SS along bottom of case, securing at end with knot. See photo below. This is the RIGHT way, once it’s been turned inside out.

Do the same for the sides, using a SS with the yarn tails. Once you are confident it’s all secure, turn case inside out so that the right side is now visible & check the seams. If happy, turn it inside out again & I knotted each pair of yarn tails per colour & snipped the ends to make it a little tidier. Turn back inside out to the right way, and case is complete!
This is the first time I’ve done a crochet project that required joining seams together, (I’ve been a blanket girl up till now!), so it’s not perfect, but I am pleased with it, I think when I do it again, I will be able to do the ends inside the case much neater.
Hope you found this tutorial helpful, let me know how you get on!


